
Webinar:
How to Go from 3D Part to 2D Patterns in Minutes
This video is a recording of a webinar conducted by ExactFlat and TexTempo. It shows the Core Workflow, the BIG 5 Best Practices and talks about top 3 Concerns. There is a Live Demo and lively Q&A. If you are interested in 3D to 2D pattern making check out this video.

Table of Contents
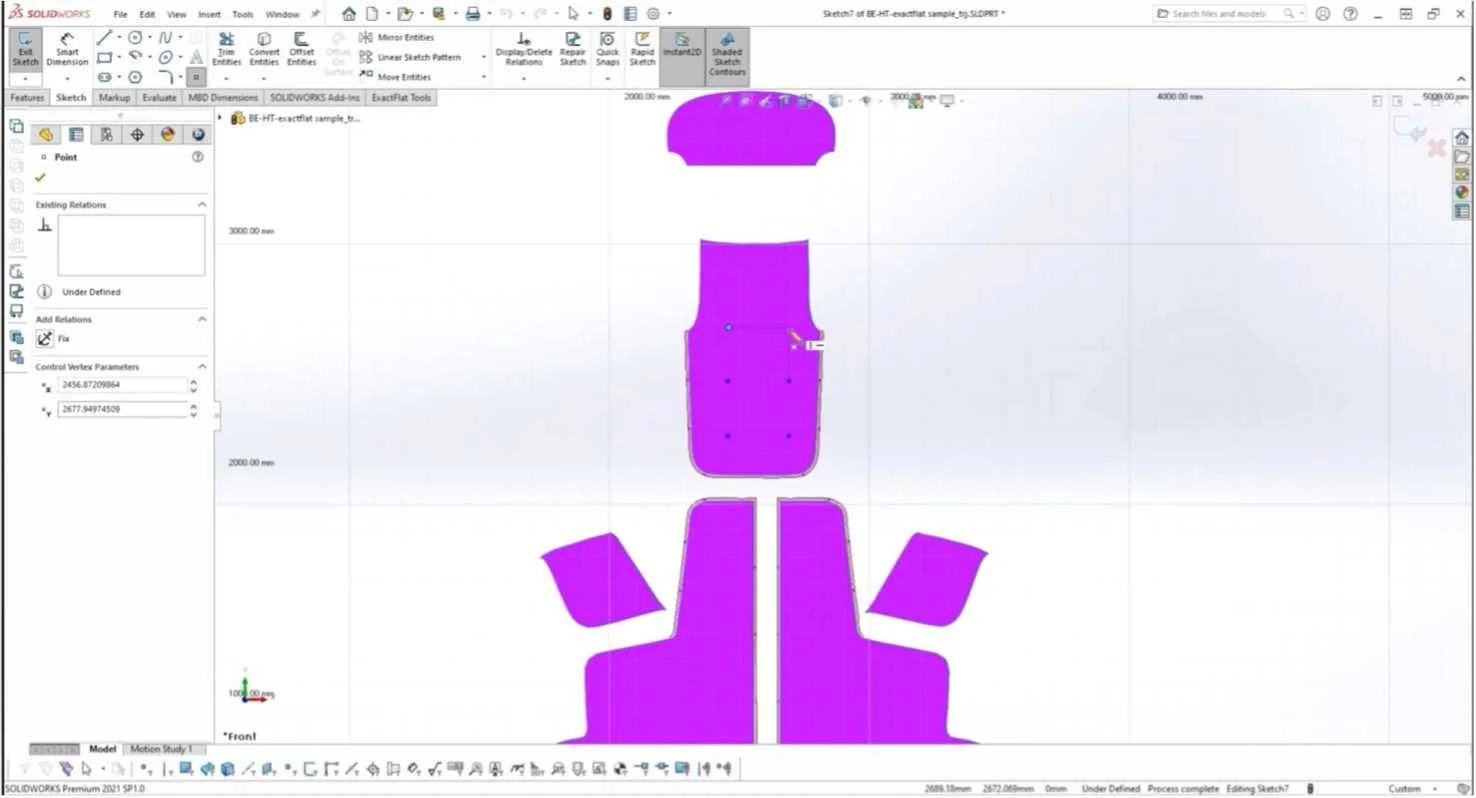
Here’s the table of contents to the “How to Go from 3D Part to 2D Patterns in Minutes” video. It shows the core workflow starting with scanning the part, processing the scanning data in Peel 3D and flatten the model withExactFlat. Use the links below to navigate to the section of interest or watch the entire video:
36:01 Export Pattern Pieces
37:44 Process Recap
39:01 Audience Questions
39:07 "Can I Learn It?
40:53 " How Fast Can I Learn ExactFlat Software?
42:13 Does It Work?
42:33 Is the Pattern Accurate?
43:04 How Fast is It?
46:21 Can I Afford it?
50:36 Does The Pattern Fit?
52:23 Can ExactFlat Integrate the Shrinkage Factor as a Buffer for the Fit?
53:14 Can ExactFlat nest on leather where the high visibility parts require less natural imperfections or should that require a scan of the leather?
54:41 If I have patterns made by a supplier can I import them directly into 2D portion of the software for the production? Am I able to import ".mdl" files?
56:18 When benchmarking ExactFlat software what have you noticed when comparing your software to DC3D?
57:00 Do we need Solidworks prior to purchasing the ExactFlat software?
57:32 At to the 3rd decimal in inches how accurate is the fit of one pattern next and in between notches? What are the tolerances?
1:01:28 Can ExactaFlat produce velcro closure instead of sewing seams?
1:03:00 A footwear last is an asymmetrical, very curvy object. How does the flattening represent the 2 different sides of the last in 2D form?
1:06:00 Final Thoughts
0:00 Introduction
1:04 Introduction of the Host and the Panelists
1:33 Webinar Topic Presentation
2:09 Workflow Applications
3:45 Core Workflow Steps
4:24 Big 5 Best Practices
6:53 Live Demo
7:30 Presentation of the Part
9:29 Create Pieces
12:47 Flattening with ExactFlat
13:07 Material Assignment
14:31 Initial Unoptimized Pattern
14:43 Finishing the Flattening
15:02 Pre-flatteners
15:24 Optimize the Pattern
17:54 Arranging the Pattern Pieces
20:48 Add Seams
23:49 Add Notches
26:16 Add Hems
27:28 Add Hardware
30:02 Add Markings to the 3D Model32:45 Set up the Marker
32:57 Manual Nesting
33:20 Automatic Nesting